
We spent part of May 14th scouting out the Sandstonia area of New River Gorge.
The following day, Friday, I led 5.5 My Ass, a short 5.6 sport route. It was tough! It would be fun to go back and try it a second time, now that I know the beta.
After this, Bill led Bobby D'Bunny (5.7). This route is much longer and more slabby than "5.5 My Ass" - more my style. For our last route of the day, Bill led Geisha Girl (5.8). I recall that being tough.
We had hoped to spend more time climbing at NRG on Saturday, May 16, but it got crowded pretty early. We only had the opportunity to climb Butterfly Flake (5.7). After that, it was getting crowded and we took off for Seneca.
Skyline Traverse had come highly recommended. We were planning to climb this route as our first one at Seneca Rocks. In fact, it wound up being both our first and last on Sunday, May 17th.
We hiked up the approach trail and scouted around to look for the start of the route. As newcomers, we found it difficult to figure out where to go even with the help of the guidebook. I took some photos, but I don't recall all the details anymore. Here are the pics that I took along the way.
This first photo is taken near the start of the trail, soon after leaving the road.
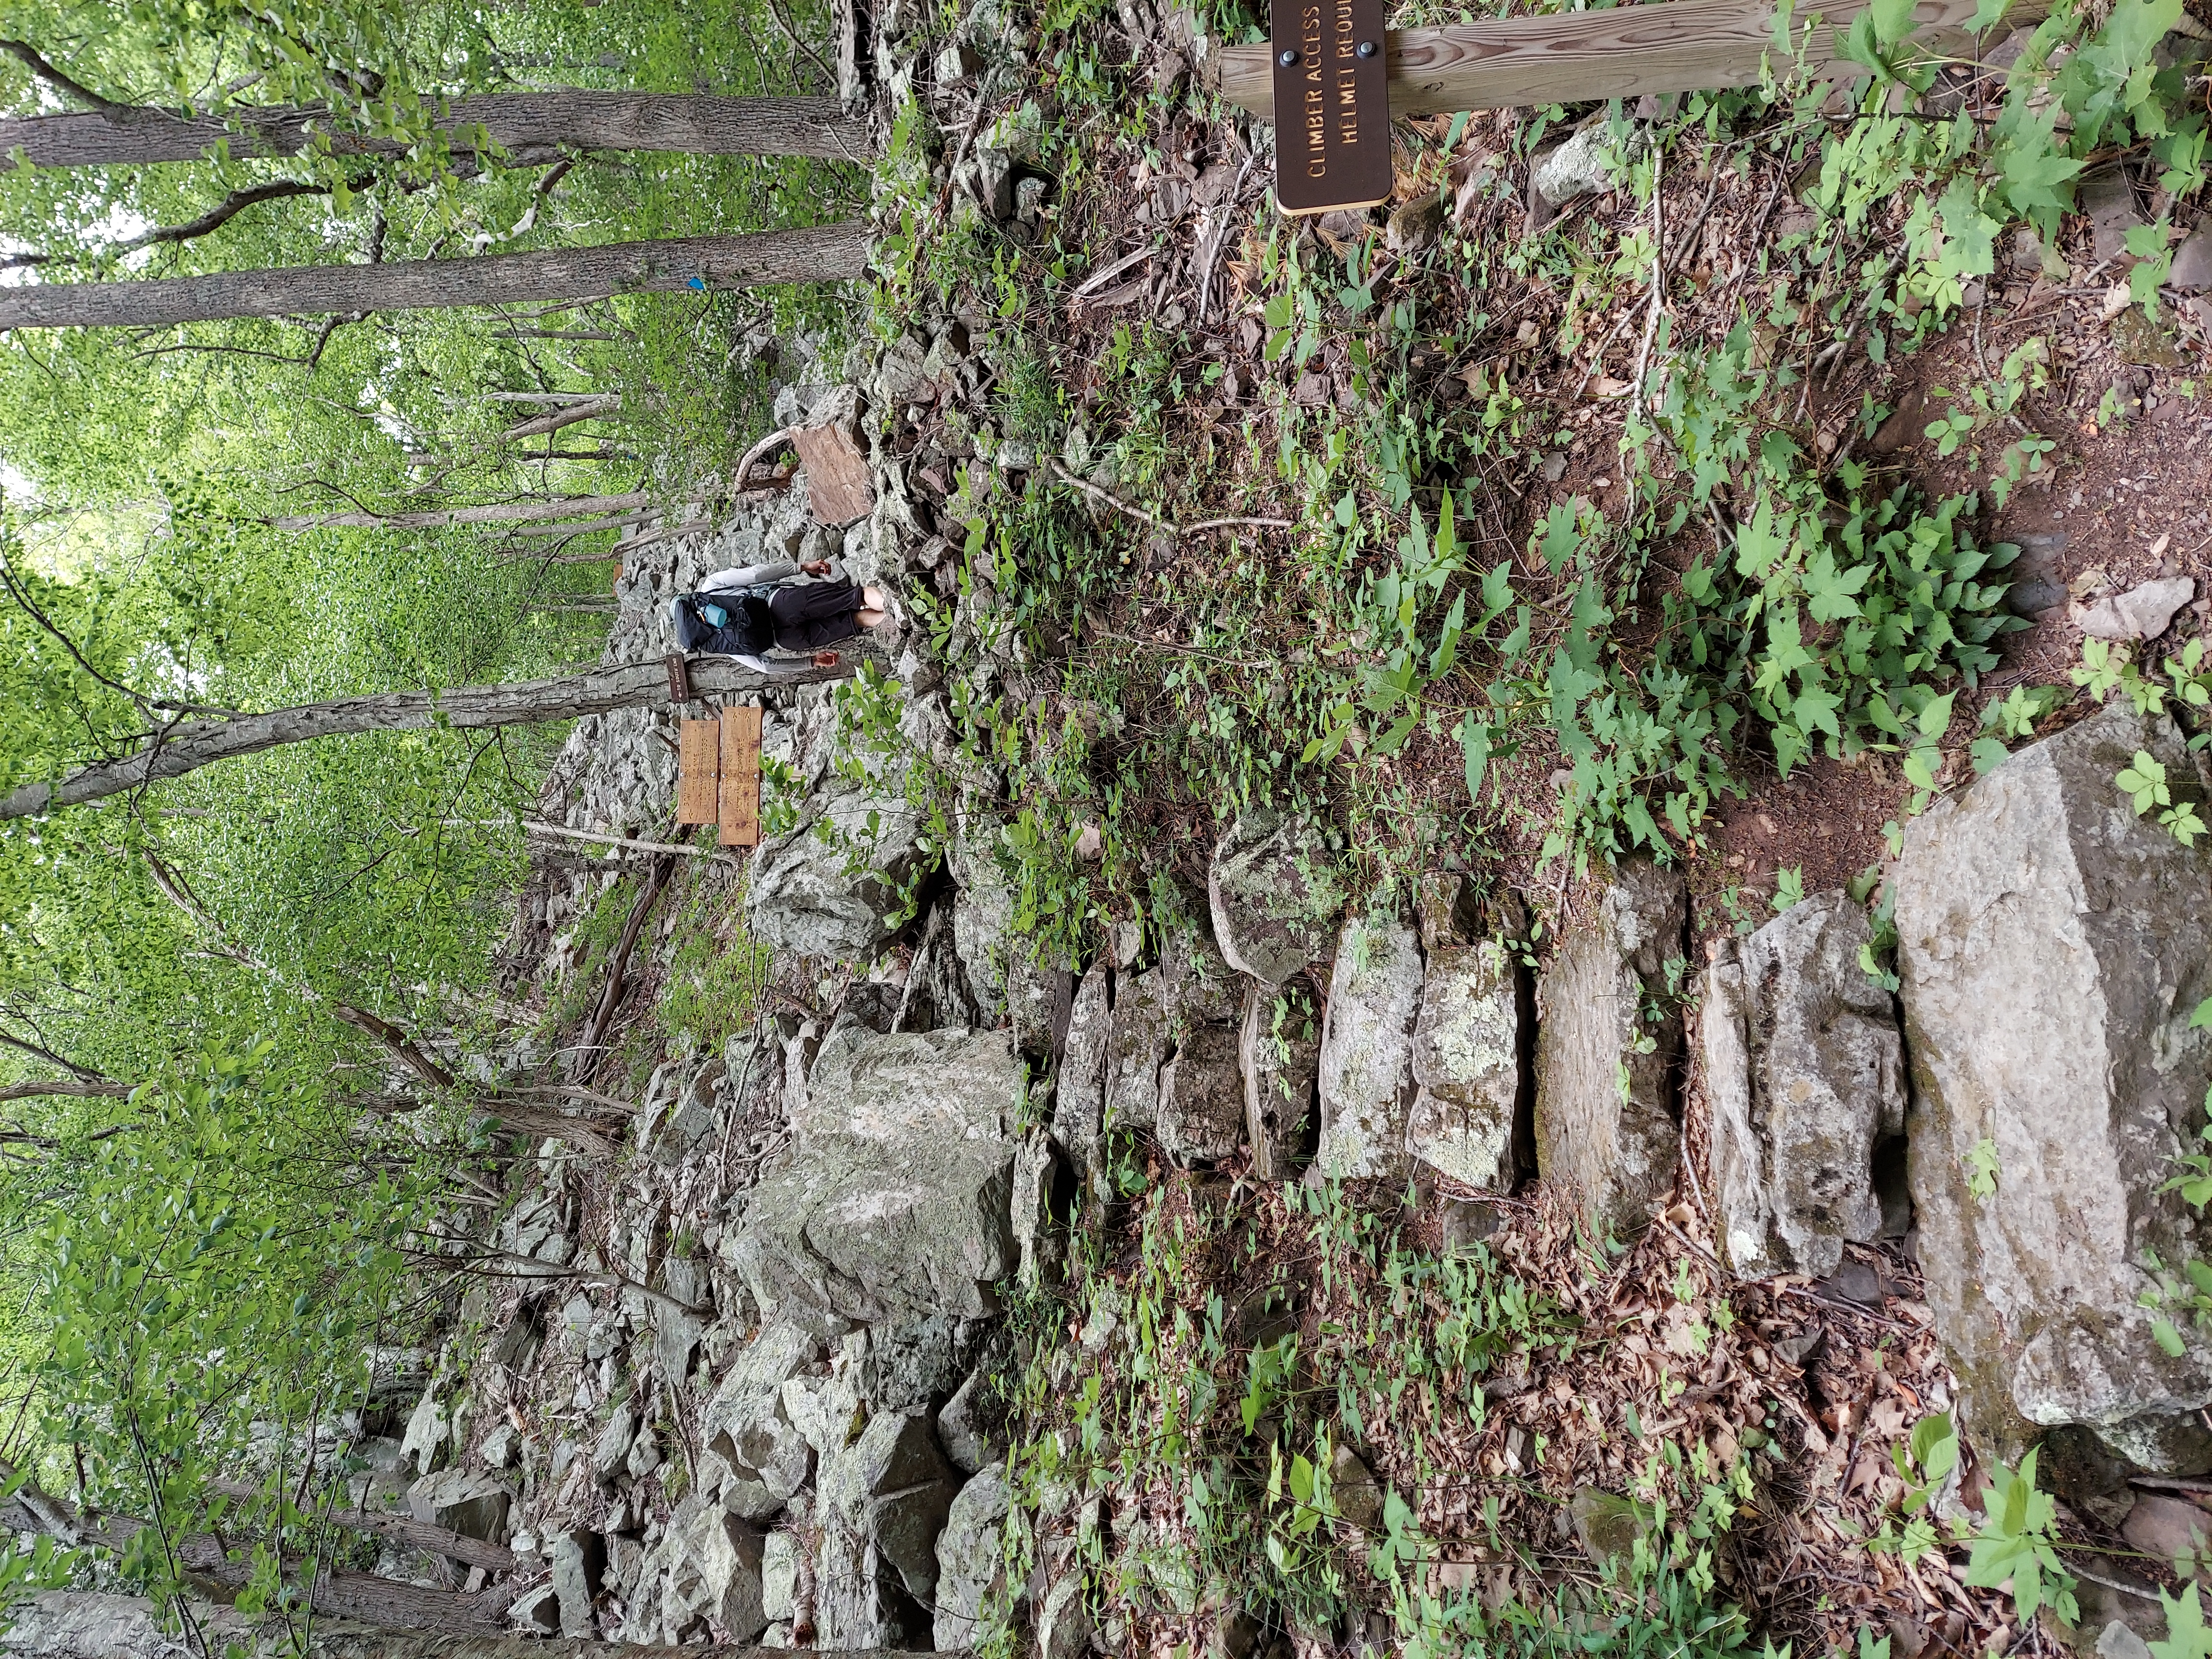
Here's a closer look at the sign - note the arrow pointing to Skyline Traverse, clearly marked!

A couple minutes later, I took a pic of Bill hiking up the talus field. He's at the far right. I wonder if we missed a stairway in here, somewhere.
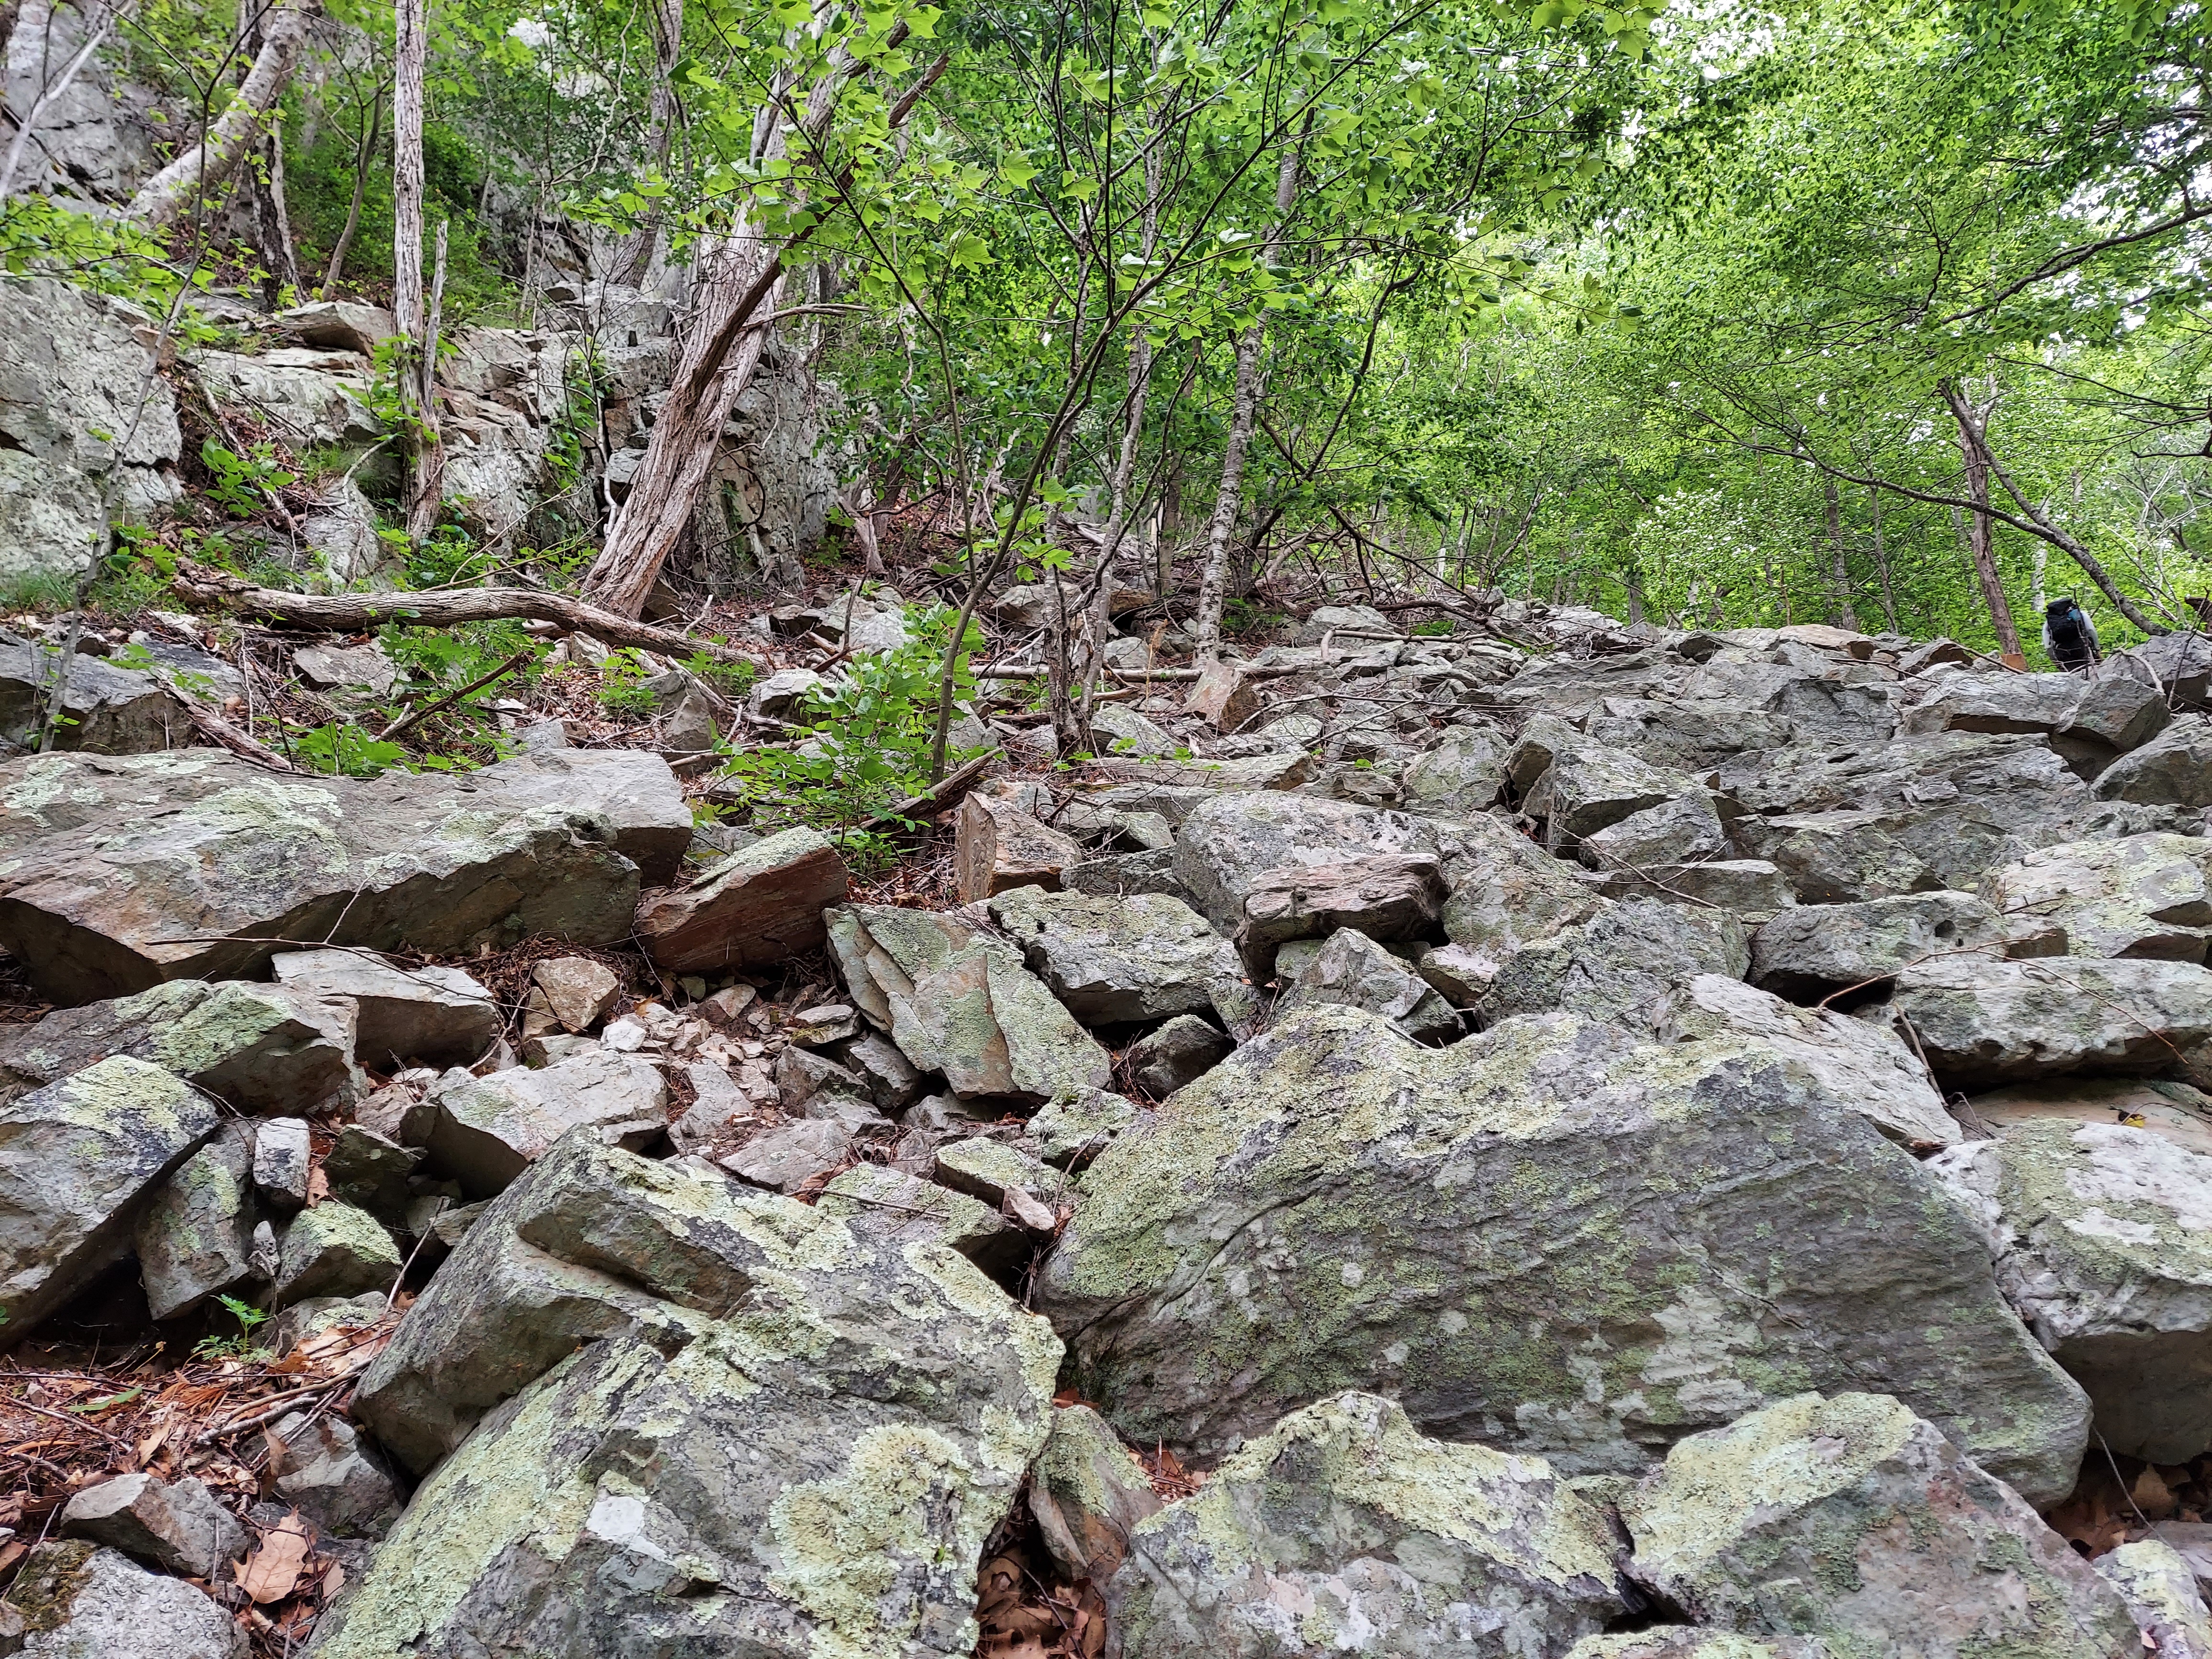
Just a minute or two later, Bill found a stairway, and a sign, which he pondered. Skyline Traverse is clearly marked on the sign: go left. Okay, we went left.

In another minute, the stairs turned right, and got a bit more scrabbly, I seem to recall. We went right here. We're getting close now! Soon after scrabbling up and right, we made it to the starting ledge.

I was dubious. The start is on a narrow ledge. The only good anchor for the belayer is 15 feet or so to the right of the start. And there's no pro for the first 10-15 feet of the climb. True, it's fairly easy climbing to get to the ledge above. And I was anchored in, so if Bill fell, I was not going anywhere. It's definitely a do-not-fall zone, though. There's no pro before the ledge, and the consequences of a fall are dire for the leader (and probably for the belayer as well, since the leader would fall directly onto the belay device).
Bill had no qualms, though.
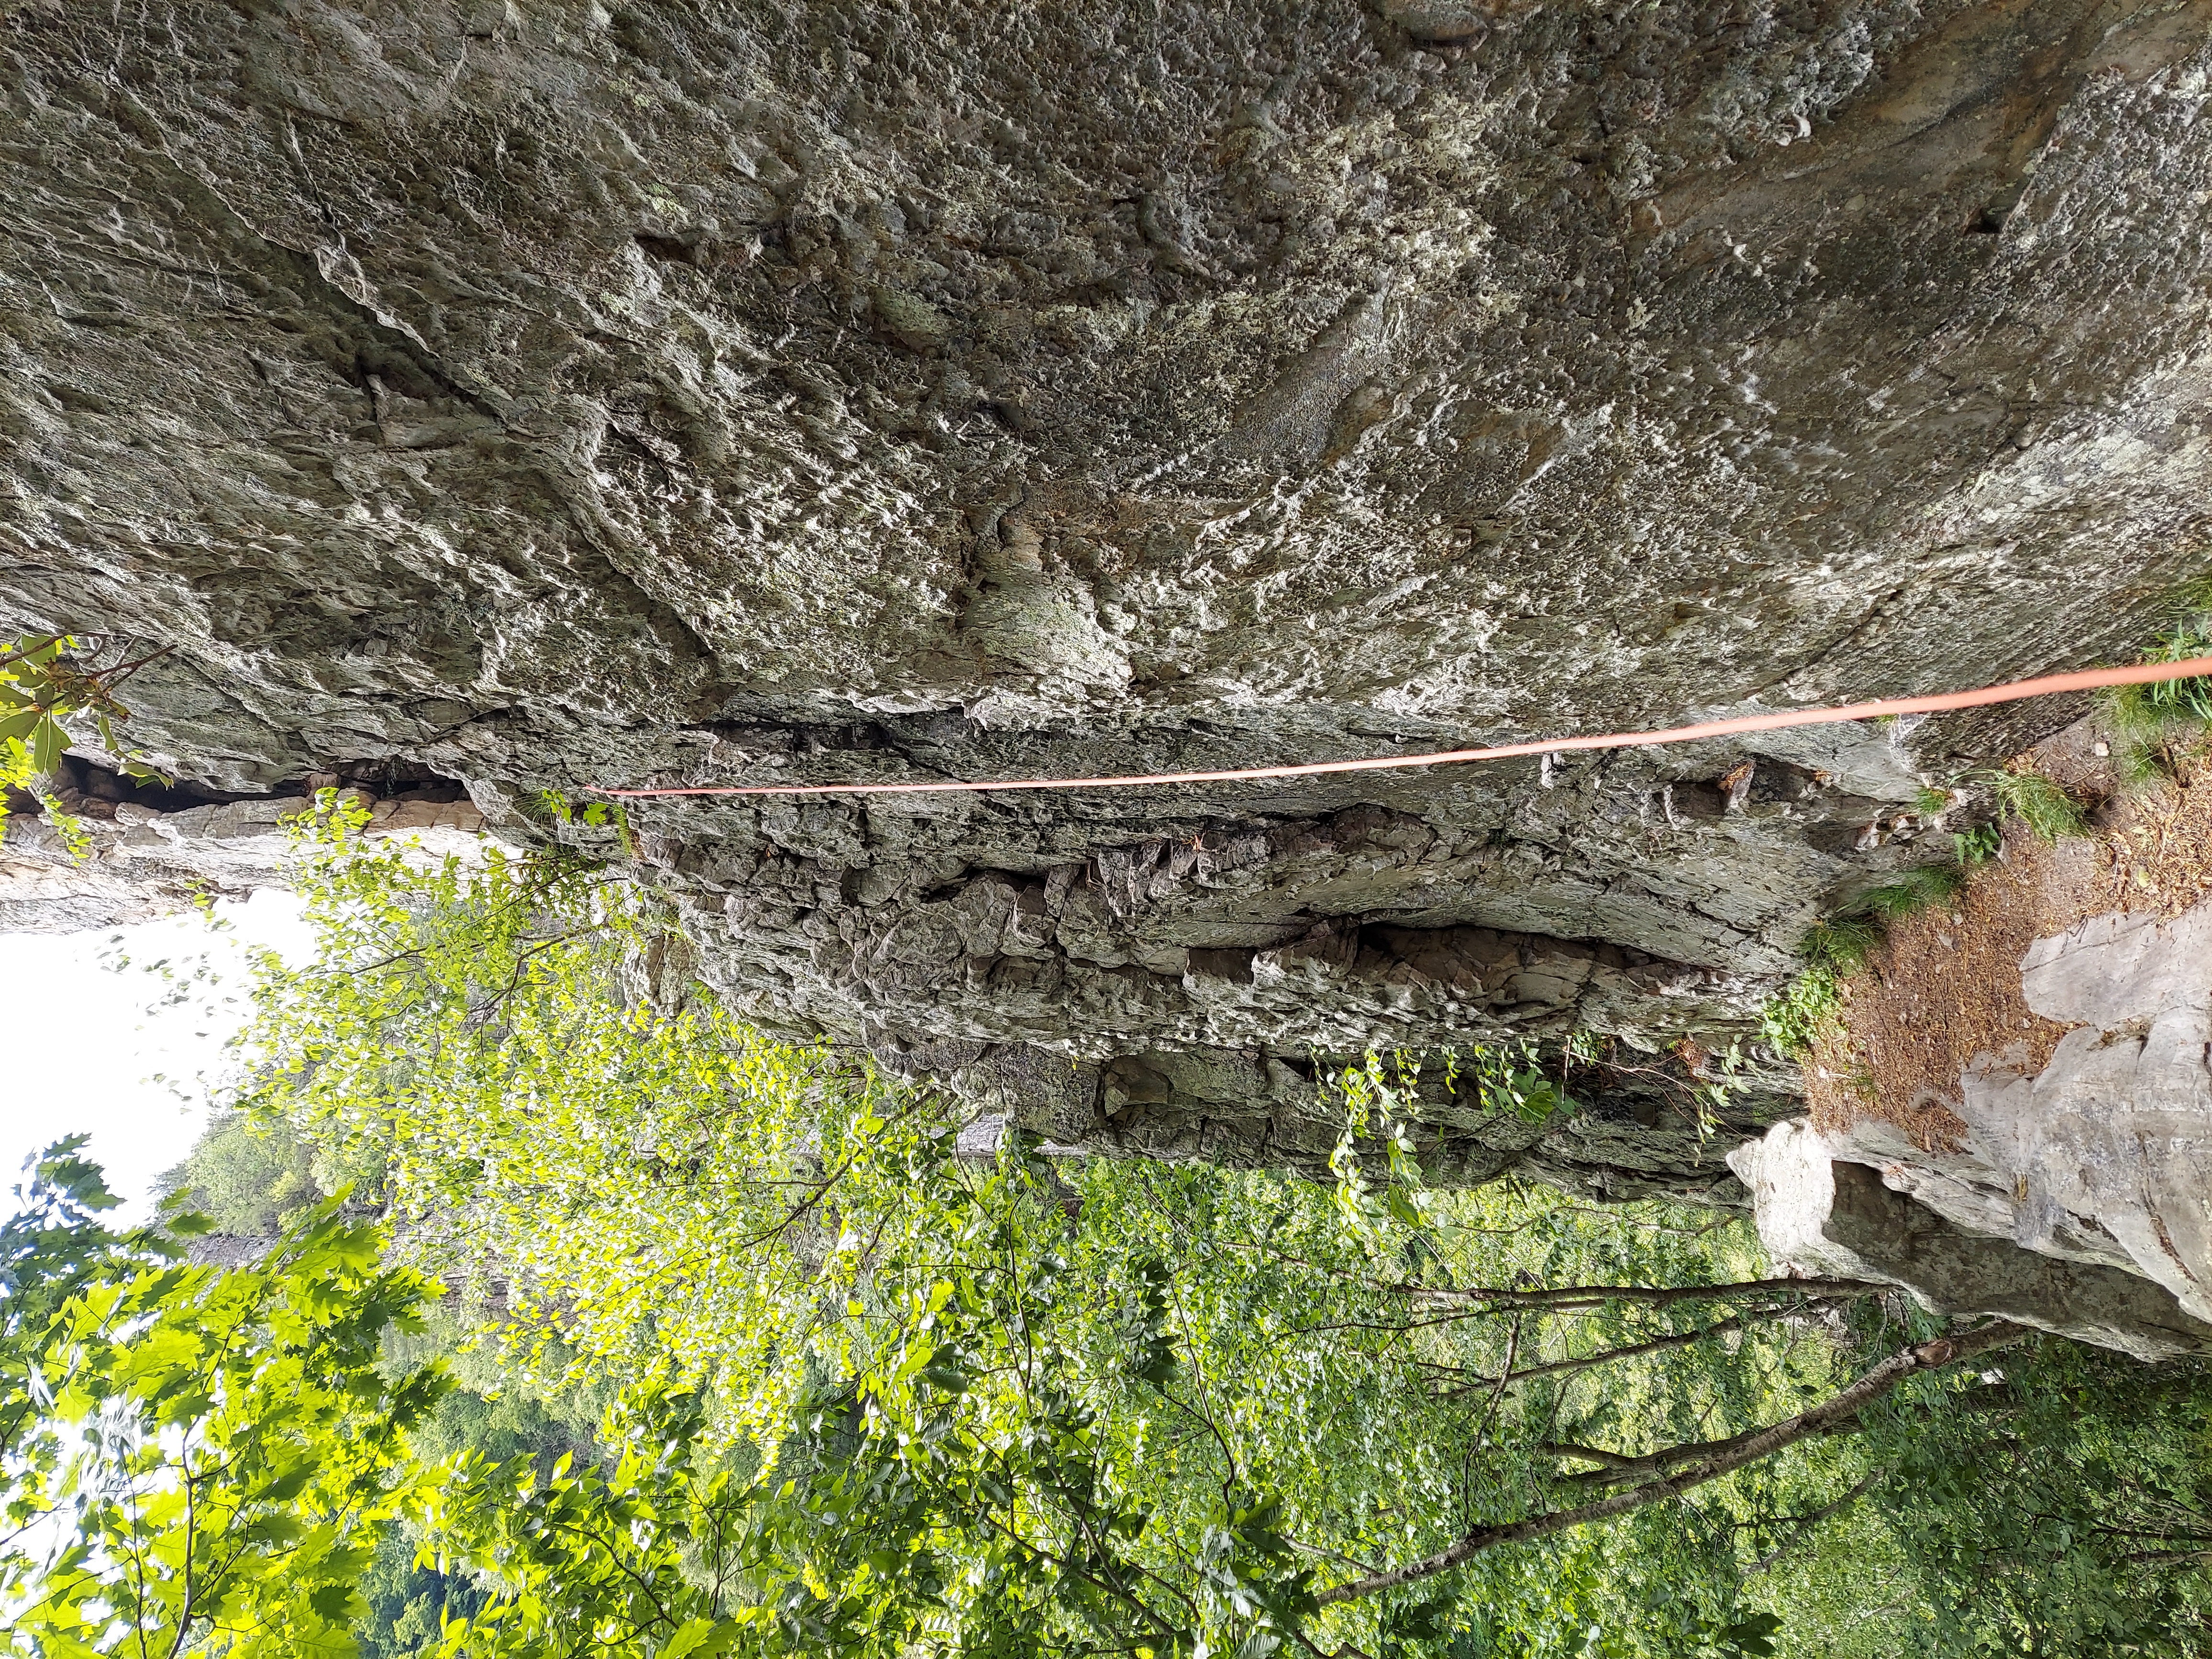
P1 was fun climbing, but perhaps a little chossy. Well, it seemed fine to me, anyway. After I reached Bill at the top of the first pitch, it was my turn. P2 is more fun climbing, with an initial short traverse around a corner that is exciting but well-protected.
I didn't take pics along the route, but here's a look at one of my anchor pieces at the top of P2.

And here's the view.

Bill led P3. When I arrived at the top, he declared that there were no rap anchors to be found. We were told later that rap anchors are "all over the place", but sadly we did not locate any of them. In fact, we had met a small group rapping down from the top as we were starting the climb, so we thought that surely there must be rap anchors up there somewhere. If only we knew where.
Let me take a moment to discuss the guidebook. In preparation for climbing in the area, we had bought the Fourth Edition (2022) of Seneca The Climber's Guide by O'Brien and Weinmann. It seems comprehensive, with lots of photos. But it weighs in at 20 oz, and we were not going to carry that entire book with us just to climb a single route. So we took some snapshots in advance.
Skyline Traverse is described on page 207 of the guidebook. The guide says that you can descend from bolted anchors at the top of P1. What I recall is that there were anchors, but the bolts did not have rap rings, and wouldn't be safe to rap from. So bring some extra rap tat and rings or quicklinks if you think you might want to rap from this ledge. I'm going from memory here. In any case, we did not want to rap from here, but it did make us wonder how we'd get down via rapping once we hit the top.
There's no information about the descent from the top of Skyline Traverse on page 207 of the guide. Instead, we are supposed to look at page 203, which has general information about routes on the "South Peak - East Face", which is where Skyline Traverse is located. There's a paragraph about descents that reads "from the Summit Ledge, near the top of the last pitch of OLD LADIES, find a bolted rappel station near a large pine tree that overlooks the east face...". So far as we understood it, we were not at the top of the last pitch of Old Ladies, since P3 of Skyline Traverse ends before that summit (we think). The guide continues: "From this ledge you can rappel 75 feet to bolted anchors at the top of the first pitch of FROSTED FLAKE. From there it is 60 feet to the Broadway Ledge."
We had a feeling that descending via FROSTED FLAKE would put us on the wrong side of the crag, and that we'd have to hike around to get back to our packs, which we'd left at the base. Maybe we were mistaken. The rap stations are mapped out on pages 203-204 of the guide. Indeed, there are rap stations all over the place. You can see what appears to be a single rap down from Skyline Traverse ("1x60m"). We didn't find this (or any other) rap station up here.
We also had a lot of trouble identifying features. The guide authors outline the different areas in a section called "Getting Around Seneca Rocks" (pp 41-55). But we just didn't grok it well. We were never quite sure where we were with respect to "Upper Broadway Ledge", "Lunch Ledge", and so on. I think if we'd stayed for a few days, we'd have eventually figured things out.
FWIW even the Mountain Project description of Skyline Traverse does not mention the descent. Descent instructions for the area are, in my view, muddy at best.
We knew that we should be able to hike down from the top of Skyline Traverse if we couldn't find the rap station. From the top of P3, we went left and climbed up to go around a corner, which is what some instructions somewhere said (I can't find them anymore, so I'm not sure if they were in Mountain Project or the guidebook). I was feeling sketched here, since it looked like we might be doing some unroped climbing. My alarm was needless. This is what it looks like around the corner. I think this spot might have been "Lunch Ledge", but I'm not sure.

It seemed like you're supposed to head left and downhill from here, and so we did that at the easiest looking spot (which involved a little bit of 3rd class downclimbing). Eventually we came to this sign. It was propped up. We wondered if the directions were correct.

This was the last sign that we saw, so far as I recall. And unfortunately, we didn't want to go to any of the places mentioned on the sign. We just wanted to get back to the parking lot. We hiked downhill past the sign, on what seemed a rough trail. We may have taken a wrong turn or two. The trail seemed to ... trail off. We got a bit dehydrated, cranky, and concerned. We never found a proper exit, but instead bushwhacked downward and down some more over a hill covered in slippery pine needles. After what seemed an eternity, but was perhaps 45 minutes, we finally reached a trail and a small bridge. From there, we were able to locate the parking area using Google Maps on our phones.
The following day, we went back to try to figure out what had gone wrong. It turned out that on our way down, near the start of the pine needles, there was a sharp, unmarked left turn that we should have taken that would have put us on a stone stairway past a climbing wall for a fast and easy exit. We both had a feeling that some trickster had removed a blaze in this area.

And that was the end of our climbing road trip. It was a fun adventure, and hopefully we'll do another one soon.